
Step 1: Upload the SAPUI5 application as a BSP application.
This is outlined here.
Step 2: Create launchpad role in transaction LPD_CUST.
- Open transaction LPD_CUST.

- Click on New Launchpad.
- Enter the Role, Instance (TRANSACTIONAL) and Description.
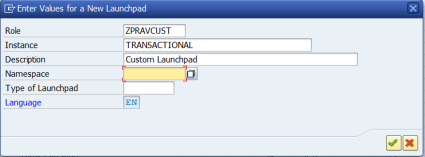
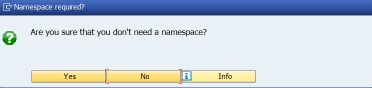
- Click on Ok and confirm that a namespace is not required.

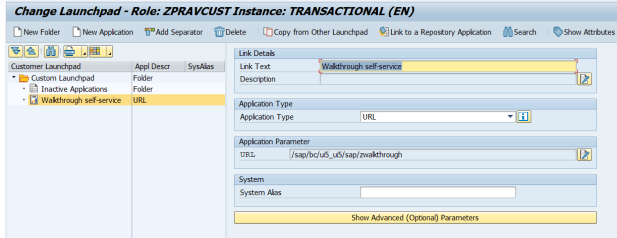
- Click on New Application.
- Enter the details shown below. In the Application Parameter section, click on the Edit icon and input the url of the BSP application.
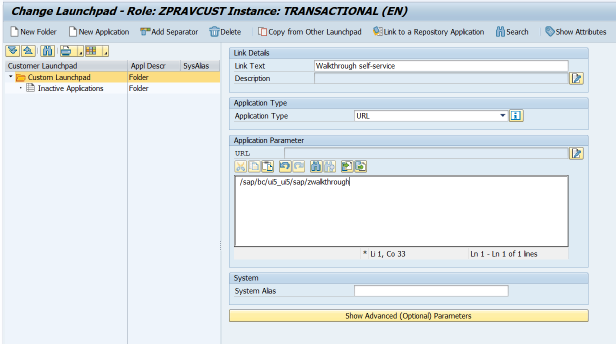
- Click on the button “Show Advanced (Optional) Parameters“.
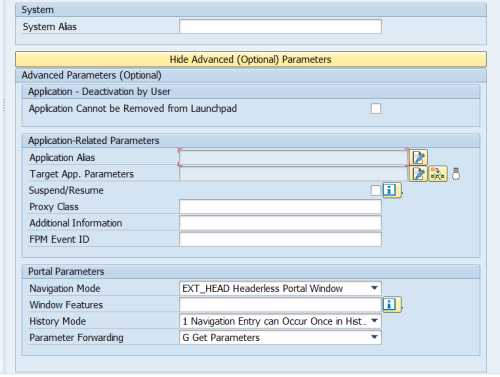
- Click on the Edit icon for Application Alias and enter zwalkthrough.

- Click on Save and the launchpad instance will be created.
Step 3: Create a semantic object in /UI2/SEMOBJ
- Open the transaction /UI2/SEMOBJ.
- You will get a message that the table is cross-client. Click on OK.

- Click on New Entries and enter the following information.

- Save the changes into a transport request.
Step 4: Create a tile in the Fiori Launchpad
- Open the Fiori Launchpad Designer using the url below.
https://localhost:44300/sap/bc/ui5_ui5/sap/arsrvc_upb_admn/main.html
- Create a new catalog by clicking on the Plus icon at the bottom of the left-hand side pane.
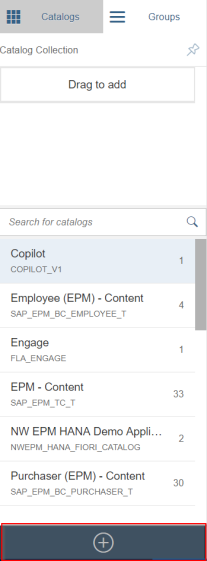
- Enter the following details:
- Title: Walkthrough Catalog
- ID: ZWalkCatalog

- Click on Save. The new catalog is saved and now appears as shown below.

- Next, create a target mapping.

- Click on the following icon.
![]()
- Enter the information shown below.
From the drop-down list for Application Type, choose SAP Fiori App using LPD_CUST.

- Click on Save.

- The saved target mapping will appear in the right-hand pane.

- Next, create a static tile.

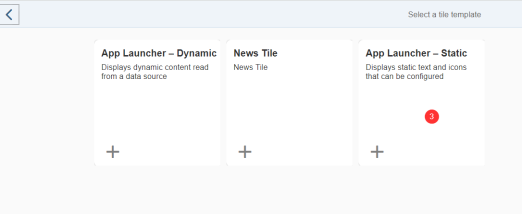
- Enter the following information and click on Save.

- The new tile will appear in the catalog.

- Next, create a group. Click on the Groups tab on the left-pane.
- Click on the Plus icon (Create Group) at the bottom of the left-pane.
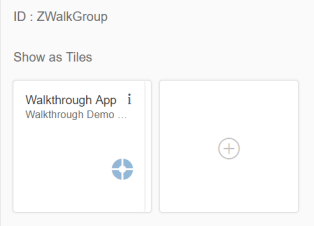
- Enter the following information.

- Click on Save.

- Add the catalog to the group. Click on the Add Tile icon. Select the catalog created earlier and Click on the Plus icon. It will turn to green to indicate that it was added successfully.

- The group will now show the new tile.
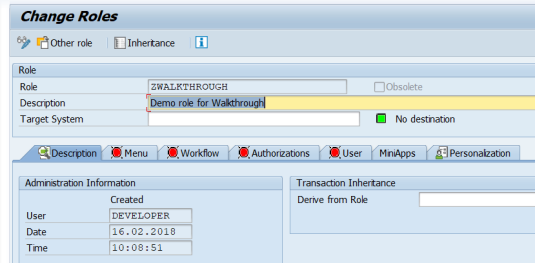
Step 5 : Create a PFCG role.
- Go to transaction PFCG.
- Enter a name for the role and click on the button Single-Role.
- Go to the menu tab.
- From the Insert Node drop-down list, choose SAP Fiori Tile Catalog. Select the catalog and click on OK.

- Add the group by using the Insert Node again.


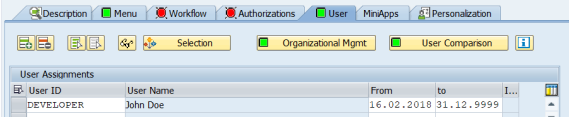
- Add the user in the User tab and click on Save.
Step 6: Test the application in the Fiori Launchpad.
- Open the Fiori launchpad by using the url below.
https://localhost:44300/sap/bc/ui5_ui5/ui2/ushell/shells/abap/FioriLaunchpad.html
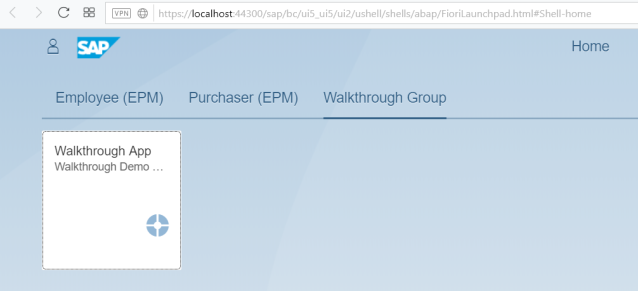
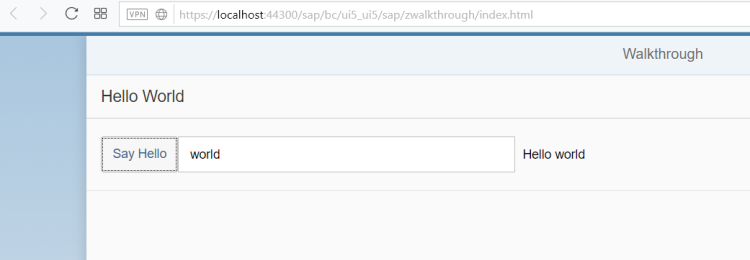
- Click on the tile to open the SAPUI5 App.


Không có nhận xét nào:
Đăng nhận xét